📖 Afaqy Knowledge Base / AVL / Tracking
The Tracking section offers a kit and a map that work seamlessly to help you track the history, routes, trips, events, stops, and parking for any of your units over any specified time period. Note: You can access the Tracking section from the Monitoring section by using the Quick Track icon in the monitoring fields, as explained here.
/w=1920,quality=90,fit=scale-down)
1
2
3
4
5
6
7 | Homepage Button
Navigation Sidebar
Current Section
Select Unit
Edit Unit
Starting Point
User Apps | 8
9
10
11
12
13
14 | Notifications Button
Full-Screen Button
Manage Account Button
Sub-User(s) List
Map View Button
Monitoring / Total
Stopping Units | 15
16
17
18
19
20
21 | Moving Units
Track Player
Export
Settings
Remove Track
Ending Point
Updates Button |
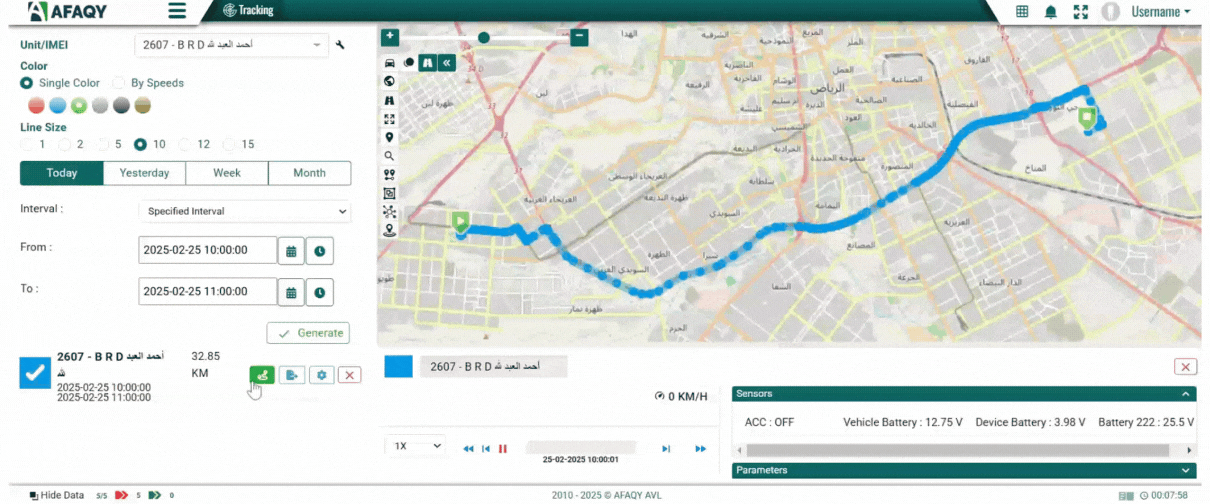
Tracking Fields
By default, the Tracking section includes the following fields:


Generating a track
After filling in the required fields and clicking Generate, the unit’s track for the selected time period will be drawn on the map on the right side of the screen.
Hovering over any point on the drawn route retrieves the exact location, date, time, speed, and satellites locked into the unit at that point.
On the bottom left side of the screen, you will see:

- The unit's name.
- The tracking date and time.
- The distance covered during the selected period.
- The tracking tools: Track Player, Export, Settings, and Remove Track.
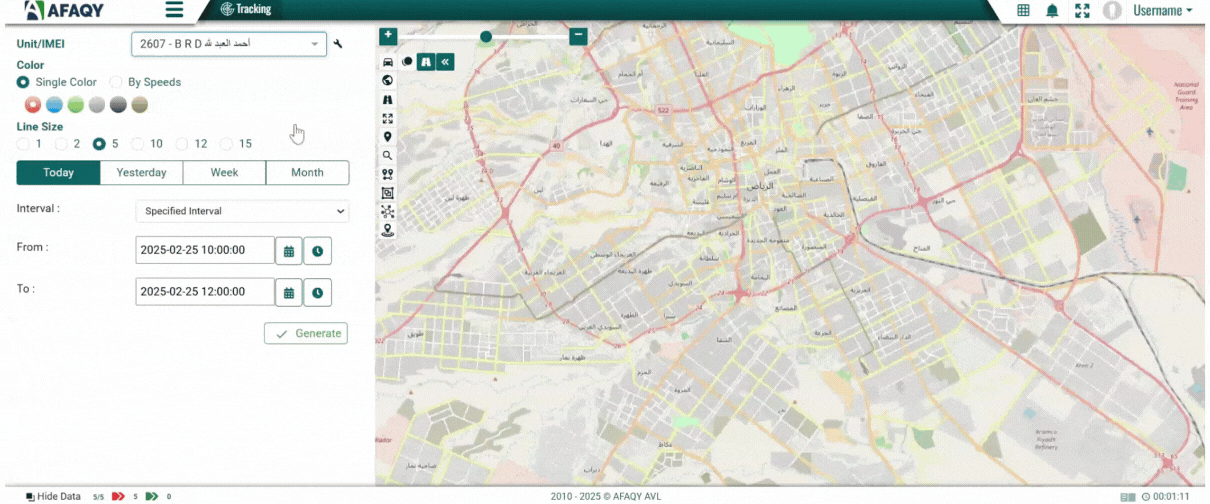
To generate another track, update the tracking fields with the new criteria and click Generate again.
Tracking Tools
The Tracking section features a set of tools designed to simplify both the simulation and management of generated tracks, ensuring an insightful tracking experience. Below are the functionalities of these tools: